
PERFORMANCE MODIFICATIONS
This web page provides discussions regarding components or procedures associated with the intake tract typically selected to enhance the performance of your engine.
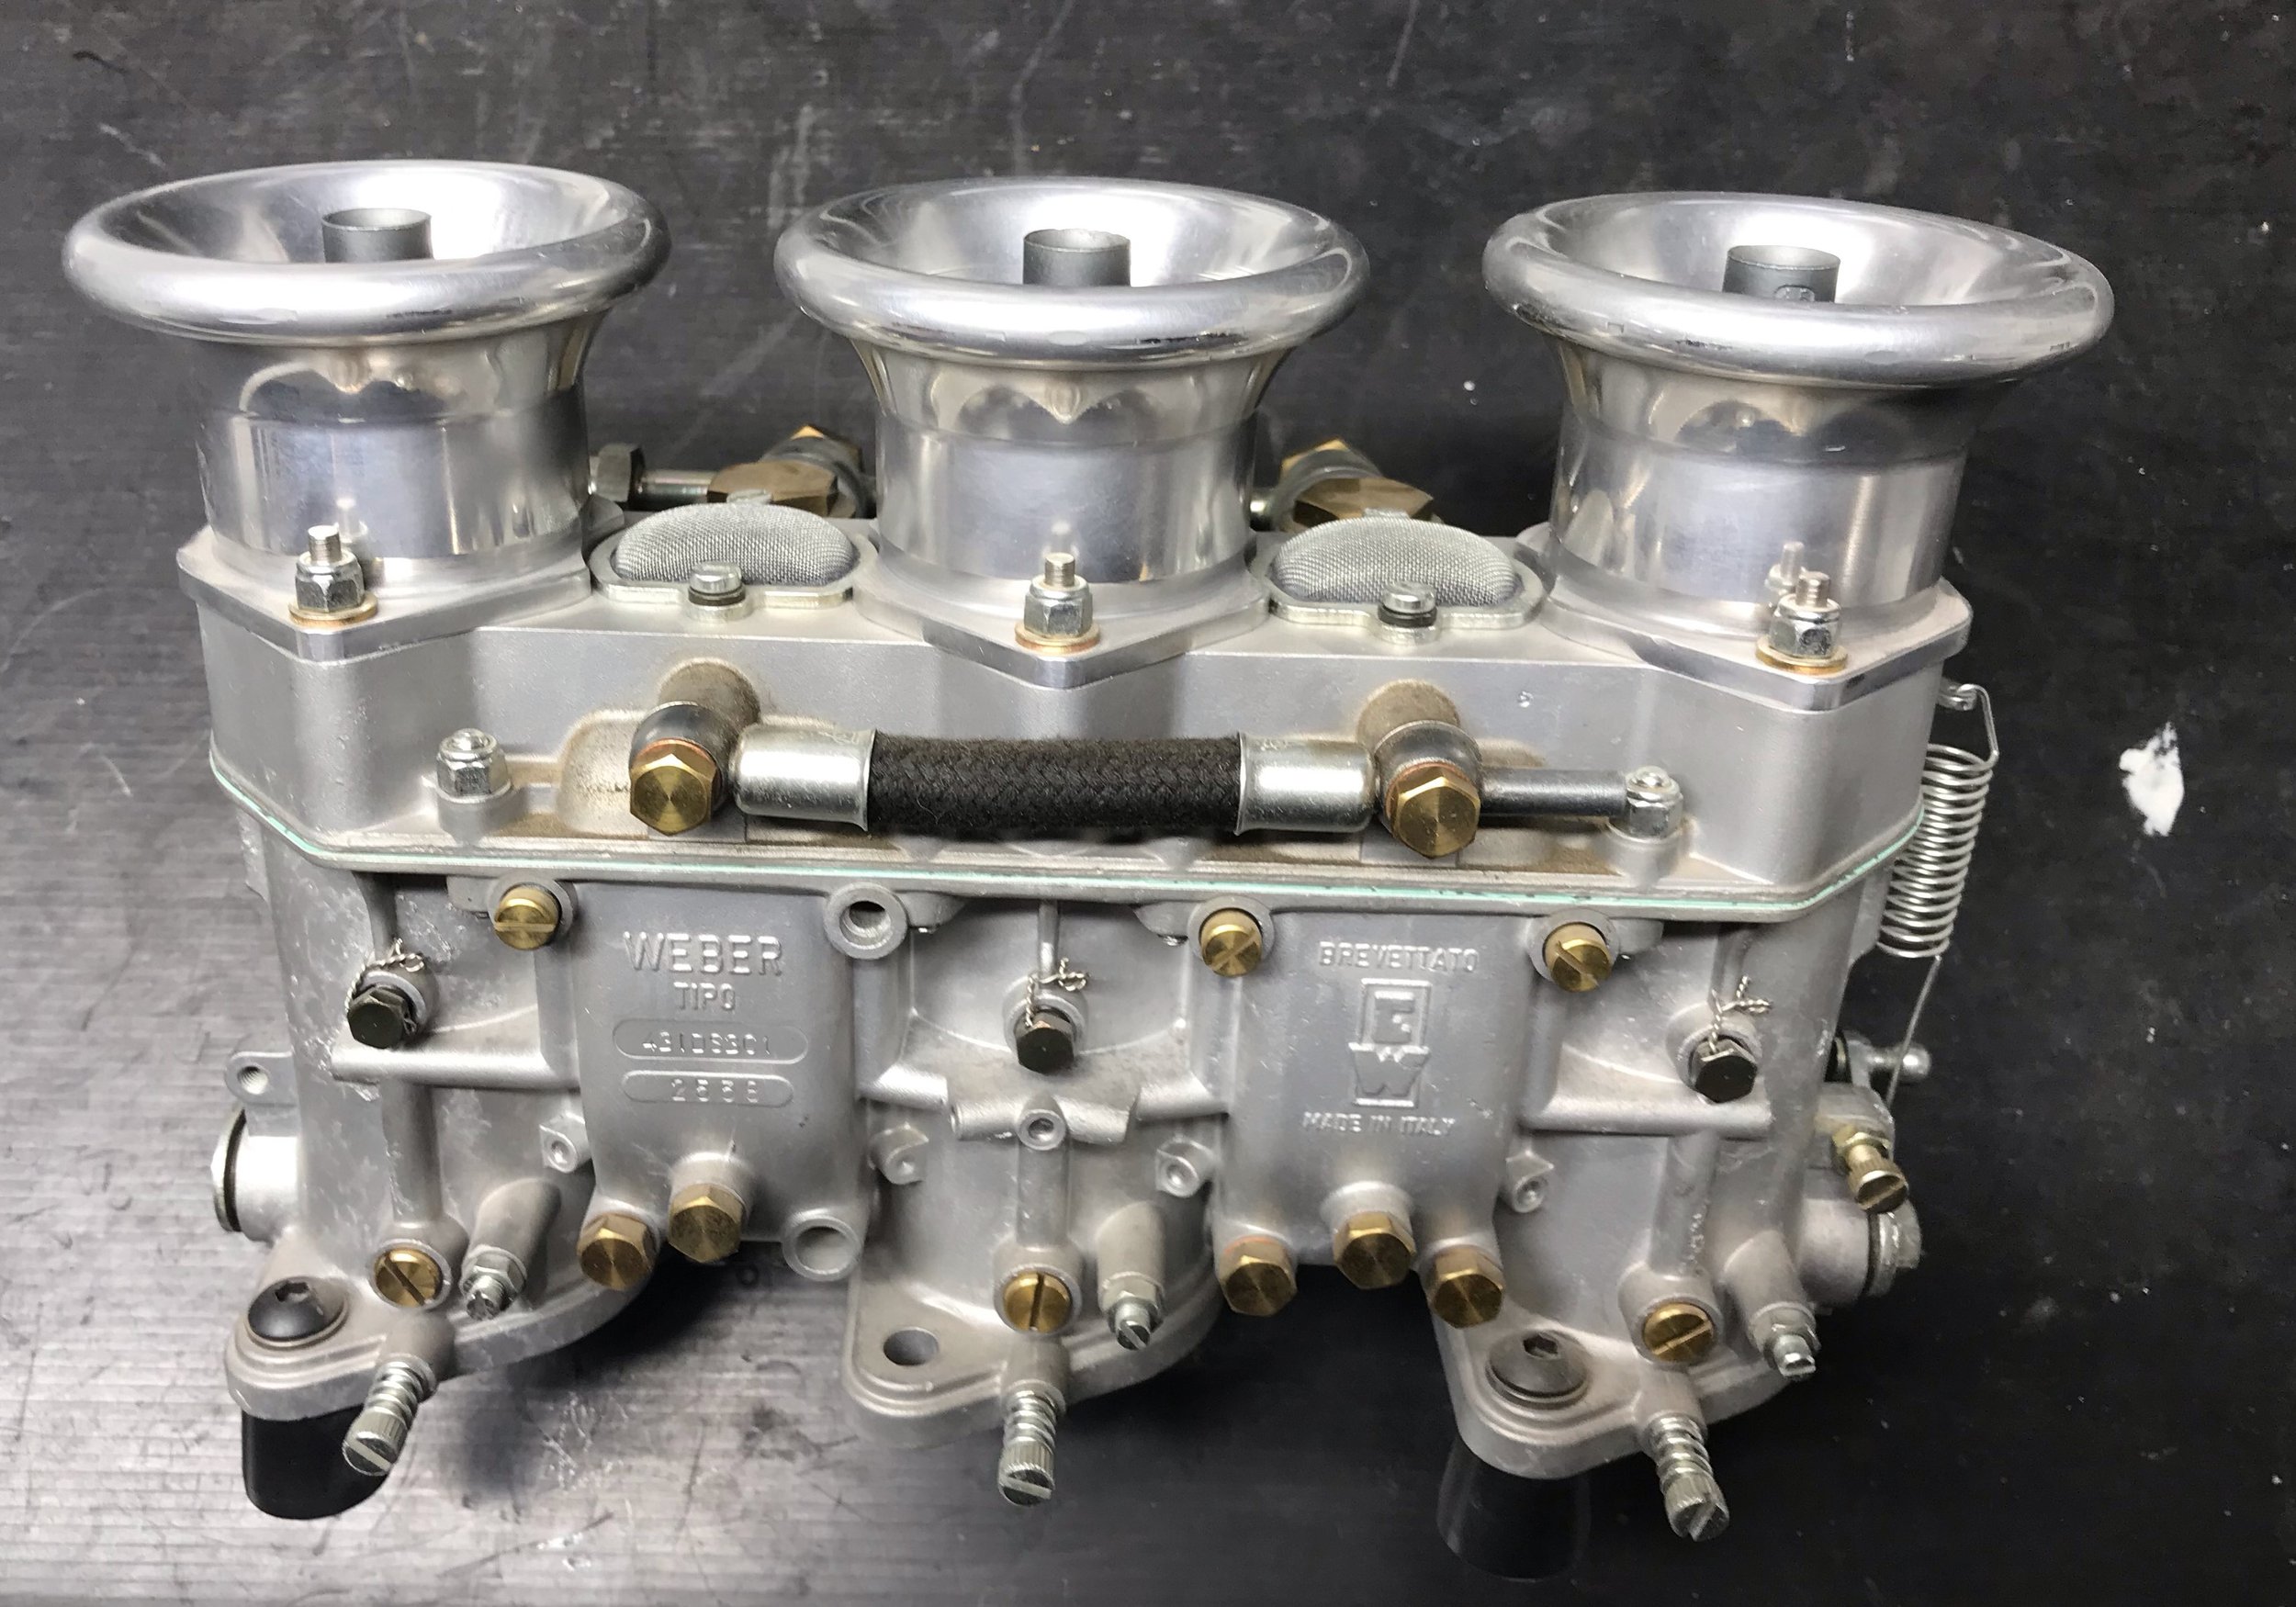
Intake Manifolds
In general, short intake manifolds produce more horsepower at high RPM and taller intake manifolds produce more torque at lower RPM. The power peak between "shorter" and "taller" intake manifolds is between 300 RPM to 500 RPM which is not significant for most applications. The OEM intake manifolds used with Weber are 68mm and the tall intake manifolds used on the 906, 911R, 914/6GT and 2.3 liter 911ST race engines are all 98 mm tall. The short intake manifolds allow use of the OEM air cleaner within the engine bay while the tall manifolds need to use aftermarket air cleaners to fit within the bay.
The tall, 911R and 906 intake manifolds were developed to help contain the reversion pulse in the intake tract for engines using camshafts with large overlap such as 906 or RSR Sprint cams, large ports (relative to the engine displacement) and large diameter headers. The low intake air velocities of the large ports and the overlap of the cams (where both intake and exhaust valves are open at the same time) allows exhaust gas to be "exhausted" through the open intake valve and thereby depletes oxygen needed for combustion, essentially enriching the mixture. Reversion causes a "fuel cloud" to form over the individual intake air horns that plays havoc with fuel mixture at mid-range or 4000 to 5500 RPM region of operation. These taller manifolds kept the throttle valves as far away from the intake valves as possible which benefited torque and throttle response, especially with racing-sized main venturis. Street usage camshafts such as Solex or 911S cams do not cause issues with reversion.
Intake manifolds used for performance applications require careful selection or modification to match the carburetor bore diameter and intake port configuration in the cylinder heads. OEM manifolds were configured for 40mm throttle bores and had either 35mm exit port diameters for the 2.0 911S or 32mm exit port diameters for all other applications. These OEM intake manifolds may be re-bored for use on performance engines or aftermarket manifolds may be sourced, most commonly available are those offered by PMO which offers short and tall manifolds with many variations of port sizes.
See also the discussion regarding "Fuel Percolation (Boiling) Problems" in Advanced Procedures.
Exhaust Headers and Mufflers
A few comments are offered regarding selection of exhaust headers and mufflers:
use early style, 1973 or earlier, OEM heat exchangers or SSI exchangers
1 1/2" diameter primary tubes are good for street engines up through 3.0 liters
race application engines may use larger primaries
use of large primaries and race cams AND a muffler will kill progression circuit signal with associated resulting in poor street performance
Air Filters and Screens
Air filters are essential for prolonging engine life as well as avoiding carburetor issues associated with airborne dirt and debris causing running issues. Airborne dirt is abrasive and causes accelerated wearing of your pistons, rings and cylinder walls. Larger particles of dirt will be drawn into your carburetors and will clog or restrict the smaller fuel jets that will cause running issues. Good air filtration systems do not adversely affect engine performance assuming the filter elements are kept clean.
OEM air cleaners
They are quiet. Rust may be an issue, especially in the troughs where the gaskets are installed. They obstruct access to the engine, power degradation is minimal compared to aftermarket filter options. They cannot be easily used when tall intake manifolds are selected, be careful of headroom between top of air cleaner and ceiling of engine compartment when tall intake manifolds are used.
OEM air cleaners may be modified for improver air flow for larger engines or smaller engines with high performance modifications.

OEM air cleaner housing with shortened intake horn which increases diameter for improved air flow capacity.

OEM air cleaner housing with opened end to increase air flow capacity like 911SCRS air cleaners.
Aftermarket filters
K&N & other aftermarket air filters provide good access to your engine and allow the use of tall intake manifolds. They are much louder than the OEM air cleaner but this is not all bad. If the car sits outside or is driven in the rain then they need water shedding top covers to help prevent water from entering the engine.
Air screens for air horns
These are typically of poor design and hinder airflow into the engine. However, if open intakes are desired then it is important to exclude the errant stones that may be ingested by the engine if some sort of screen is not used over the intake air horns. With some ingenuity the tea strainers found at your local supermarket may be used to create screens to cover your intake air horns.
Air screens for emulsion tube wells
If air cleaners are not used then these little air screens are quite important to keep the smaller bits of road debris from finding their way into the float bowls. These air screens were used for racing cars when air cleaners were not installed. The small bits of dirt that can be swallowed through the intake air horns without hindering engine operation will actually stop a cylinder from getting fuel for the idle/progression circuit. Dirt will find its way to the smallest orifice in the carburetor which is the hole in the tip of the idle jet. The mesh size of these screens is small enough to pass dirt particles that are smaller than the idle jet size.
When installed on the typical Weber carburetor the vent pipes located between the intake air horns must be removed. It is rather pointless to poke a hole through the air screen for the vent pipe to protrude only to provide a pathway for dirt into the float bowl. Once the vent pipe has been removed the carburetor now has a rather large hole in the top cover that will allow fuel to slosh out during vigorous driving. It is worth noting that the carburetors for racing used a smaller hole for float bowl venting.

Emulsion well air screens installed between intake air horns. These keep small particles from entering the fuel delivery system where they would otherwise block the small openings for the idle fuel jet and idle air correction jet.
Accelerator Cam Lever arms and pump rods
Three different versions of the cam lever arms were used on the triple throat Webers. The earliest version used a fixed-length activating rod and the two subsequent arms used and adjustable length rod. The adjustable rod required a longer arm on the cam lever arm due to features required by the new, adjustable rod. Note that the total “lift” of the cam on the three versions in the image below are identical. Therefor, the rate of squirt delivery is slower for the longer arm versions. The cam profile of the IDTP version, the bottom arm in the image has a steeper ramp which helps recover the more aggressive delivery profile of the early, non-adjustable rod version.

Accelerator cam lever arms. Top left used through 1967, top right was adopted in 1968 and used for all remaining years with the exception for the bottom version which was used on IDTP and IDTP1 Webers.

Adjustable vs. fixed length accelerator pump rods.
Intake Air Horns
There are several versions of intake air horns for the Weber carburetors as supplied for OEM applications, the typical horns are metal and are 50mm high. The race application horns are metal and are 56mm tall, the extra height is to accommodate the tall auxiliary venturi and to provide proper flow characteristics when they are selected for use. Both the 50mm and the 56mm tall air horns will fit any of the Weber triple throat carburetors.
There are few if any options for intake air horns beyond the OEM offerings. If the tall air horns are needed for race application with the tall auxiliary venturis then 6mm thick spacers may be fabricated to simulate the tall versions.
A minimum distance over the top of any air horn should be equal to the radius as measured at the top of the air horn, the OEM air horns have a radius of 33mm or 1.3 inches. This is to assure free air flow into the horns and to avoid low air pressure from being applied to the vent pipes above the fuel wells which will affect fuel level in the float bowls.

An assortment of OEM intake air horns. Three are 50mm tall and the far right horn is 56mm tall. The far left horn was OEM through 1967 and is spun from one piece and is nickel plated. Second from left was used on after market, non-OEM Webers and is zinc plated. Second from right was used in 1968 and is made of plastic and is very brittle today due to aging. Far right was used for racing and 46mm throttle bore Webers and is of two piece construction and is nickel plated.
An extensively modified Weber with billet intake air horns. Horns have rounded edges and a larger opening at the top which improves intake airflow over OEM air horns.
Fuel Floats
Fuel float blueprinted for OEM geometry, reinforced, hinge seam soldered and hinge axis resized.
Fuel floats need to be checked for wear and geometry to assure optimum fuel level control. However, for performance applications there are some additional items to consider. Fuel floats are susceptible to bending as a result of an off-road excursion. High dynamic loads within the float bowl combined with fuel sloshing can bend the tab in contact with the tip of the needle valve. These load conditions may result in bent floats with an associated increase in fuel level. An increase in fuel level may result in engine flooding if not just affecting timing of main circuit activation. Reinforcement of the arm connecting the hinge axis with the main float body will prevent this bending and make the float action much more stable. During the modification to reinforce the lever arm it is convenient to solder the seam of the hinge to stabilize it from opening over time. Performance Oriented resizes the hinge and then reams it to size which becomes necessary when the seam is soldered.
See also the discussion regarding "Fuel Float Blueprinting" in Advanced Procedures.
Fuel Float Needle Valves
The float needle valves consist of a brass needle that seats into a brass orifice in the main body of the needle valve assembly. This is a wear item and as such the float needle valves require replacement periodically to maintain good control of the fuel supply to the carburetors, poor valve condition will allow fuel to weep past the closed valve and can lead to flooding the carburetor when fuel demand is low such as when idling the engine.
Availability of needle valves is limited to an orifice diameter of 1.75 mm which is adequate for most applications but larger displacement engines or those used for racing need larger orifices. Also, Viton tipped needles are routinely used in more common carburetors and provide extended service life over the brass variety but are not currently available for the triple throat Webers, however, Performance Oriented will be offering Viton tipped needle valves in the near future.
Throttle Body Bore Modification
Weber triple throat carburetors were produced in two bore diameters, 40mm and 46mm. Depending upon engine displacement and configuration your needs may be for a bore size between these two diameters. Alternately you may have a set of 40mm throttle bore Webers and need a larger set for your performance engine and wish to keep your OEM Webers. In this situation you may want to re-bore your existing 40mm bores to be more compatible with your reconfigured engine.
Please see Throttle body and main venturi sizing for specifics regarding throttle bore sizing.
The process required for bore increases from 40mm to 42mm is rather simple and cost effective, other than boring the 40mm throttle bodies 2mm larger in diameter and making appropriately sized throttle plates the only modification is to re-taper the internal shape of the main venturis from the minimum diameter to a new exit diameter of 42mm.
Bore sizes from 43mm through 46mm are readily created using 40mm throttle bodies but require more machine work due to the wall where the progression circuit holes are located is destroyed during boring. Preparations for this must be made in advance to provide material for re-drilling the progression circuit holes after boring. Obviously the hole spacing and sizing of the re-created progression circuit holes is important to provide appropriate fuel delivery for the various configurations of throttle bore diameters.
Tune-able Idle Air Correction Jets
This modification provides the tuner with adjustability of the idle/progression circuit beyond what may be achieved with simple idle jet changes. The idle air correction jet in OEM Webers is a fixed-size orifice with diameters ranging from 0.80mm through 1.40mm depending upon application. The ability to change the diameter of the idle air correction jet allows tailoring the fuel mixture characteristics of the transition portion of the idle/progression circuit. When combined with idle jet size selection and the selection of main jet, emulsion tube and air correction jet for the main circuit the tuner achieves complete control of the fuel delivery curve.

Tune-able idle air correction jet installed in top of throttle housing.
Modifications for IDTP Weber carburetors
The IDTP version of the triple throat Weber carburetors (not to be confused with the IDT version) were used beginning in 1969 on the 2.0 liter 911T and on the 914/6 engine from 1970 through 1973.
These engines were purposely de-tuned from performance levels of previous 2.0 liter engines by using 27mm main venturis where the earlier engines used 30mm venturis. The small main venturis generated an early activation of the main circuit which necessitated a revision to the progression circuit design incorporated on the IDA and similar throttle bodies. Additionally, the camshafts used on these 2.0 engines have less overlap (intake valves and exhaust valves both open during the end of the exhaust stroke) than the camshafts used in earlier versions of the 911 engine; this change in camshaft design resulted in lower emissions but necessitated an alteration in the progression circuit design.
The IDTP carburetors work very well when used on stock engines but installation of large main venturis into IDTP carburetors results in a lean transition due to the early end of the IDTP progression and a delayed initiation of the main circuit actuation. This lean transition is especially pronounced when performance cams with a larger overlap are installed in the engine. Typically this lean transition is masked by installation of overly large idle jets, easy to accomplish but routinely unsatisfactory as a balanced solution. Another aspect of the IDTP Webers is the partial exposure of the first progression hole at idle which is an issue in common with the Zenith 40TIN carburetors. This partial hole exposure helped minimize tail pipe emissions during closed throttle deceleration, however the partial exposure creates secondary tuning issues.
See the discussion: Optimizing throttle plate adjustment for normal situations.
The following is a list of those items that may be addressed to help correct the IDTP progression circuit performance:
Revise ellipse angle of throttle valves
The partially exposed first progression hole may be rectified by installation of throttle valves with a revised ellipse angle of 80 degrees which allows the valves to be more fully closed from the OEM angle of 78 degrees, this modification effectively blocks off the first progression hole and facilitates progression and transition tuning.
Drill the throttle plates to bypass more air during idle
Drill a 1mm diameter hole into the edge of the throttle valve on the edge opposite from where the valve sweeps past the progression holes and located 6mm from the edge. This hole bleeds air past the closed throttle valve which allows for the valve to be more fully closed at idle and helps to cover the first progression port. Carburetors with some age on them are not as likely to benefit from this modification since they will have air leakage past their edges which will naturally have the plates close enough to block the first hole. If this hole modification is insufficient in achieving a blocked first progression hole then they may be enlarged up to a diameter of 2mm. Closing off these holes is easy by soldering them shut.
Install tune-able idle air correction jets
NOTE: The Tune-able idle air correction jet modification is by far the best and most cost effective method to correct driveability issues associated with IDTP Webers.
Both the idle/progression circuit and the main circuit utilize air correction jets to emulsify the fuel before it is drawn into the throttle bore of the carburetor. Most performance carburetors provide the means to adjust both of these air correction jets in order to tailor the fuel delivery profile of each of these two circuits. The triple throat Webers do not provide any adjustment feature for the air correction jet for the idle circuit but a simple modification will provide the tuning control needed.
Just as larger air correction jets delay initiation of the main circuit and lean out the fuel mixture at the upper RPM range of the engine (and conversely) the same effects apply to adjusting the idle air correction jets for the idle/progression circuit. By removing the fixed-size orifice idle air bleeds and replacing with threaded jets of selectable size orifices it is possible to extend the range of effectiveness of the IDTP idle/progression circuit and correct the lean transition issues.
Adjusting jetting
A lean transition typically occurs in the RPM operational region from 2800 RPM through 3500 RPM and is a result of decreasing fuel delivery from the idle/progression circuit and initial fuel delivery from the main circuit. Ideally the summation of fuel from the idle/progression circuit and that of the main circuit provides a mixture strength matching the needs of your engine. If the mixture is weak then the tuning parameters described below may be adjusted to help bridge this lean fuel condition, it would be preferable to adjust these tuning parameters as a package and avoid trying to adjust only one item to achieve the desired results:
Install smaller main venturis (improves vacuum signal to main circuit thereby activating it earlier, main jets will be decreased in size, less top RPM power, more throttle response)
Install smaller idle air correction jets (tune-able, smaller idle air correction jets extend operational range of progression circuit)
Install earlier acting emulsion tube
Convert to IDA Progression
The most comprehensive remedy converts the IDTP progression circuit, throttle valves and idle air correction jets to IDA specifications. This requires very invasive and exacting machine work to accomplish but results in IDTP carburetors that tune and perform like IDAs and retain the IDTP identification markings if that is of concern to those wishing to keep originality within their engine compartment.
Please see Weber Performance Modifications for specifics regarding IDTP to IDA conversion.
Auxiliary Venturis
Weber auxiliary venturis come in two types; the OEM version which are 51mm long and the race application version which are 107mm long; both are marked "4.5" which is half the sum of the width and height dimensions of the discharge opening of the nozzle inside the main bore of the venturi, specifically (2.4mm wide + 6.6mm tall)/2 = 4.5.
The tall auxiliary venturis were not designed to mitigate the issues "reversion fog" when using race camshafts, their primary purpose was to help initiate activation of the main circuit fuel delivery when very large main venturis were selected. The classic example of their use was on the 906 and 911R engines where 42mm main venturis were used in 46mm throttle bore Webers to supply the fuel to the 2.0 liter engines these vehicles used. The tall auxiliary venturis were required to provide as much "signal" to initiate the main circuit operation to provide useable power during operation in low and middle RPM range.
The principle of operation is that of a venturi just like the main venturis used in the throttle bodies: air flows through the auxiliary venturi and the rate of flow increases to a maximum velocity coinciding with smallest cross section of the venturi where the greatest vacuum is developed. It is at this smallest cross section where the internal nozzle delivers emulsified fuel from the main circuit into the auxiliary venturi bore which is concentric to the main throttle bore. The bottom end of the auxiliary venturi is located to be exactly level with the smallest cross section of the main venturi where the airflow is the maximum and air pressure is the lowest. Since the tall auxiliary venturi extends up to the top of the intake air horn (the taller version which is 56mm tall) the air pressure at the top is nearly atmospheric which is a higher pressure than the air pressure would be for that of the short venturi, 56mm lower than that of the tall version. Therefore, the total pressure drop within the venturi is greater when using the tall auxiliary venturis thereby maximizing the airflow and maximizing the resulting vacuum applied to the main circuit fuel delivery which speeds main circuit activation in comparison to that of the OEM version.
Tall auxiliary venturis necessitate use of the taller intake air horns (56mm tall) since the shorter, OEM horns are 50mm tall and the tops of the tall auxiliary venturis extend above them. The taller air horns are taller than the tops of the auxiliary venturis and help assure airflow is getting directed into them. It is possible to create 6mm thick spacers to shim the 50mm tall venturis to work quite well with the tall auxiliary venturis.

Tall auxiliary venturi compared with standard venturi.
Installation
Installation of auxiliary venturis is far more important to be performed thoughtfully when using the tall version as opposed to the shorter, OEM version. This is due to the center of mass of the taller version being somewhat above the end plates on the ends of the wings of the venturi as opposed to the arrangement of the OEM venturi whose center of mass is nearly centered on the axis through these end plates. What this means is that due to the rocking motions of the 911 engines these end plates tend to become deformed with time and the quality of fit is diminished to the point that uncontrolled air is drawn into the fuel delivery path between the main throttle body and the hollow end plate that is the portal to the discharge nozzle within the auxiliary venturi bore. If uncontrolled air is drawn into this fuel transfer junction then it will affect the efficiency of main circuit initiation.
See the discussion regarding "Fitting Auxiliary Venturis" in Advanced Procedures.
Float Bowl Modifications - Baffled and Relieved
Baffle plates are required for racers that experience prolonged, high-G turns resulting in the fuel in the float bowl to move up the wall of the bowl and uncover the fuel inlets to the main jets, this occurs only for the carburetor on the inside of the turn, the outer carburetor will not be affected. Since baffle plates are installed on top of the bungs where the main jets are located they cover the fuel inlets to the main jets which are 8mm above the floor of the float bowls. Removal of this riser to allow fuel to feed the main jets is known as "relieving the mains" and in doing so the end user is expected to maintain a fastidiously clean fuel delivery system and to routinely check the carburetors for debris, failure to do so will lead to a case of "Race-us interruptus". Street applications will not need/want this modification for autocross events on street tires but might be warranted for time trial events on road courses.

Float bowl baffle plate installed on top of main jet holder housings at bottom of float bowl. Note that the fuel port openings for the main jets are located on the upper surface of the jet housings and must be machined away so they are not blocked by the installation of the baffle plates.
Idle Mixture Screws
The various types of Weber carburetors all used the same style of idle mixture screws, ones incorporating a continuously tapered tip. Upon the introduction of the IDTP version a new type of mixture screw was adopted, one with a needle like tip on the end of a short, cylindrical extension from the threaded portion of the screw. The purpose of this design revision was to avoid the potential failure of the tip of the earlier mixture screw when screwed too tightly to shut off fuel delivery. The wedging action of the continuously tapered screw causes the tip to seize in the hole in the throttle body and then break the tip off in the body when the mixture screw is opened. The IDTP mixture screw is safe from this type of failure.
The difficulty with the IDTP style of mixture screw is they do not provide the sensitivity in adjusting idle mixtures like that of the continuously tapered mixture screws.

Comparison of IDTP vs. IDA idle fuel mixture screws.
Reduced Cross-Section Throttle Shafts
Airflow into the engine is controlled by the throttle valves. When the throttle valves are closed, the engine will only idle and when fully open the engine will develop maximum power. Any blockage in the path of the airflow decreases the total amount of power the engine can generate, less blockage equates to more air flow and more power. The "Performance Profile" is another racer's performance feature. By reducing the projected cross sectional area of the 8mm diameter throttle shaft where the throttle valves are installed the breathing capacity of the carburetor is increased. This increase is realized at "Wide Open Throttle" operation.
The maximum thinning recommended is approximately 1.5mm on each side of the throttle shaft which is approximately equivalent to a diametrical throttle bore increase of 2mm. It should be noted that this improved flow capacity is achieved without degradation of progression/transition circuit function.

Thinned throttle shaft as installed.
Throttle Shaft Couplings
Three different shaft couplings were used on the triple throat Webers, the first two were similar in design and were made of spring steel, formed into a "S-like" shape and used two pinch bolts to connect the long throttle shaft with the short throttle shaft. Later couplings were cylindrical. Of the first two the earlier design incorporated a notch that secured the heads of the pinch bolts during tightening of the nuts. This notched design was VERY prone to breakage due to the stress concentration of the notch in the spring steel. The second generation of the spring steel coupling eliminated the notch which improved its resistance to breaking but neither of these two couplings were reliable regarding their ability to keep the long and short throttle shafts reliably coupled. The cylindrical coupling design solved that issue completely.
If you have removed the throttle shafts from your Webers then it is recommended that the earlier style couplings be replaced with those of the later variety unless absolute authenticity is desired. If authenticity is desired then it is recommended that the second generation couplings be used in lieu of the earliest version since they are almost indistinguishable from one another.

Three versions of throttle shaft couplings: two S-shaped and cylindrical. The left S-shaped coupling shows the notch which acts as a stress riser with subsequent susceptibility for fracturing.